brygga, bryggaCNC and CenteRail are trademarks of bryggaCNC, a California company.
bryggaCNC reserves the right to make modifications or substitutions without notice. See Terms and Conditions
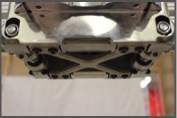
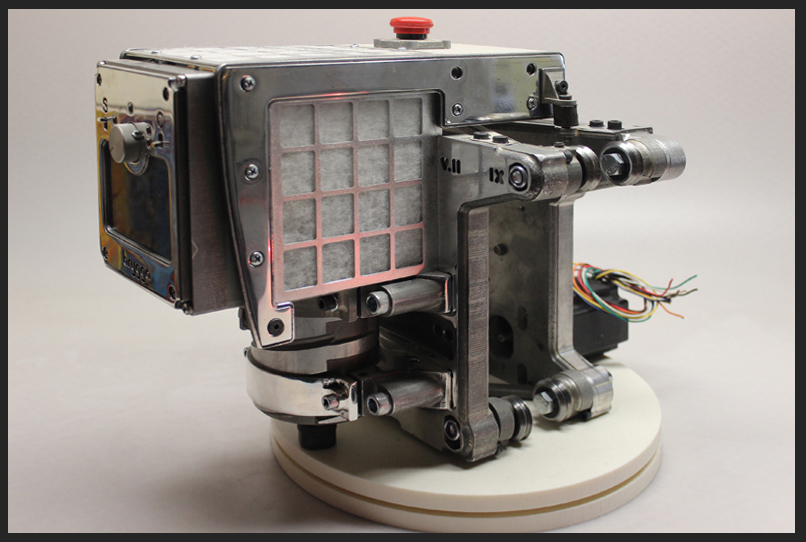
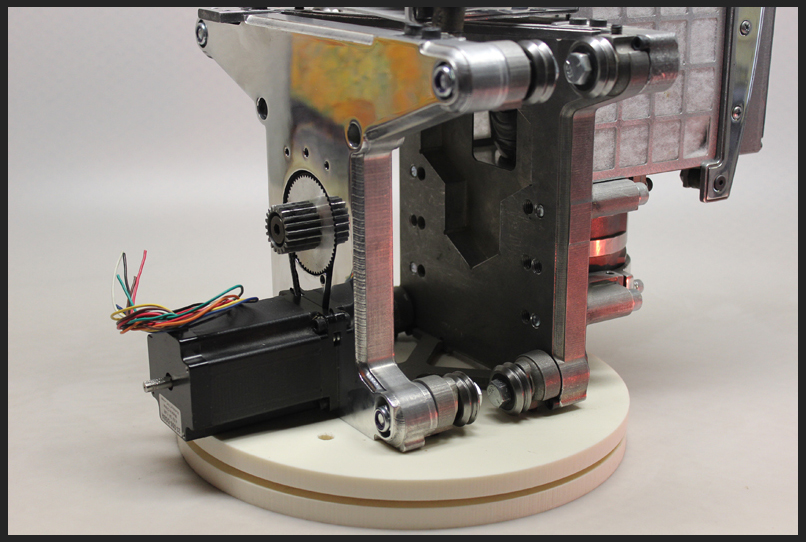
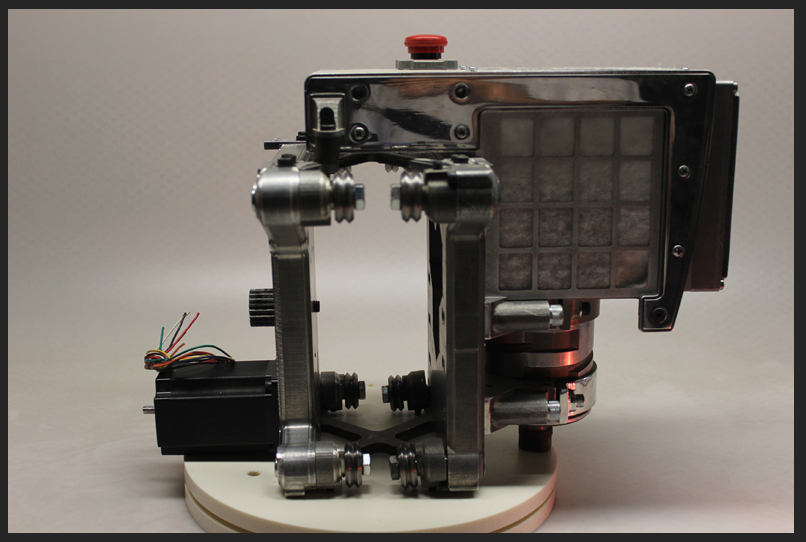
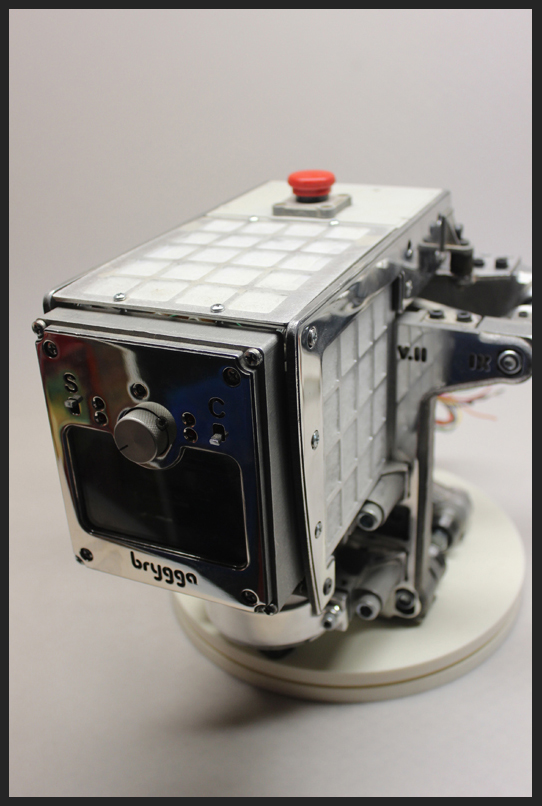
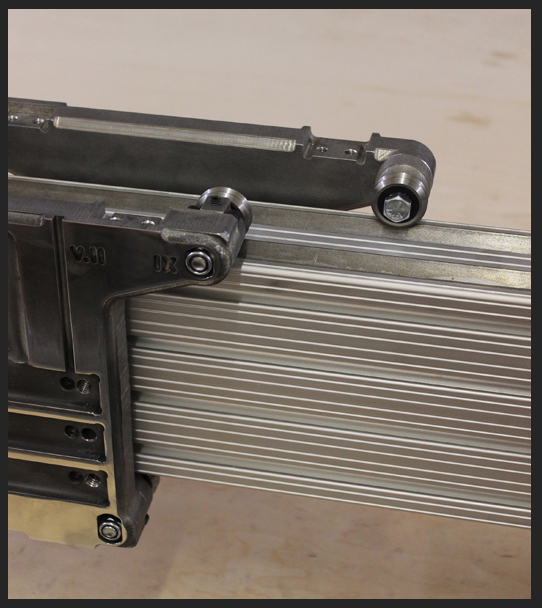
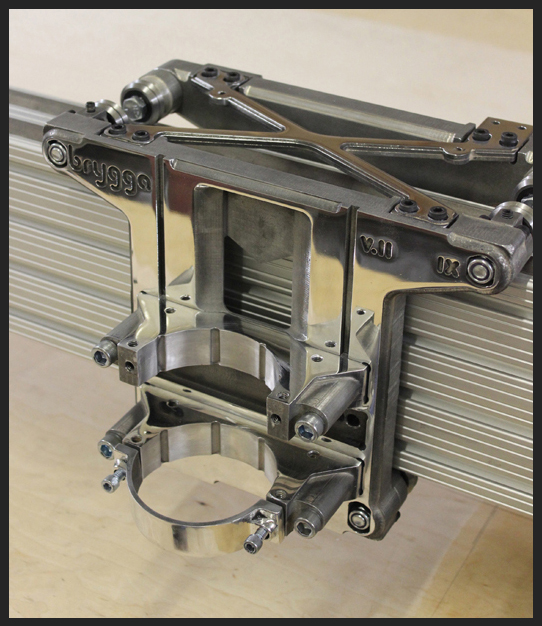
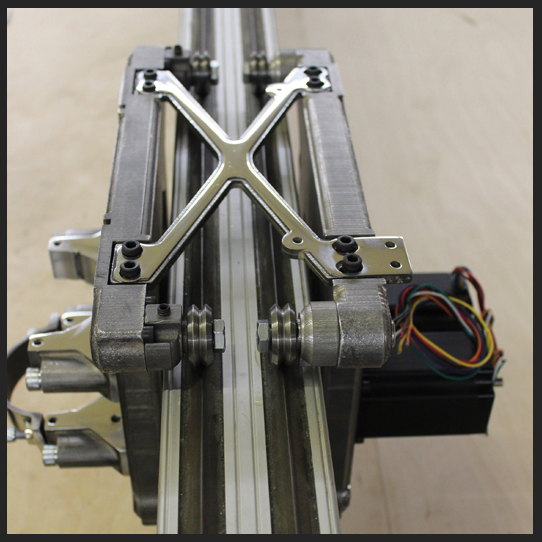
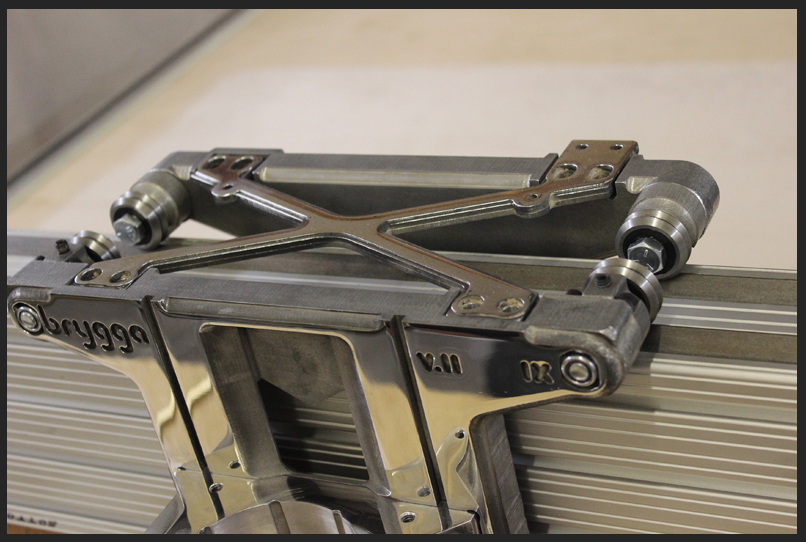
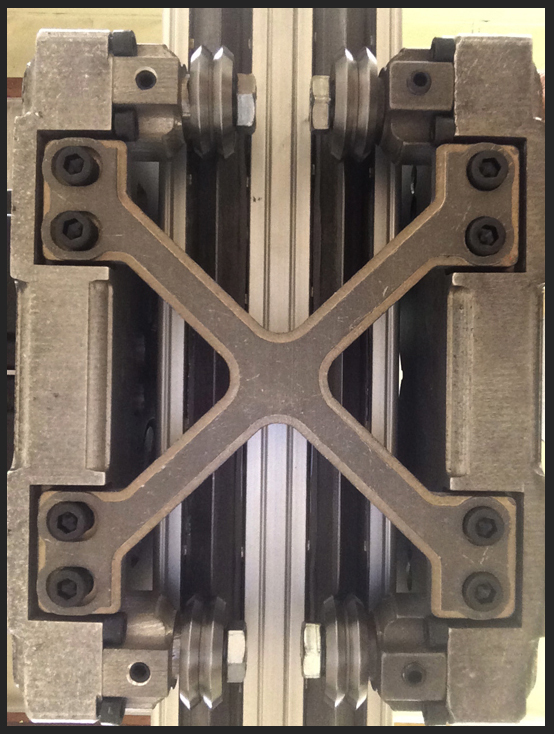
X - axis carriage:
• Machined out of 1" thick aluminum for highest rigidity.
• Integrated primary belt drive.
• Secondary constant-pressure rack & pinion system.
• Symmetrical motor force engagement design for both directions.
• X-axis rack.
• Eight RM2 3/8" v-groove bearings.
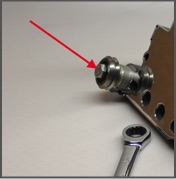
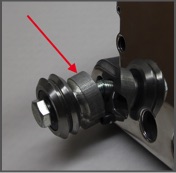
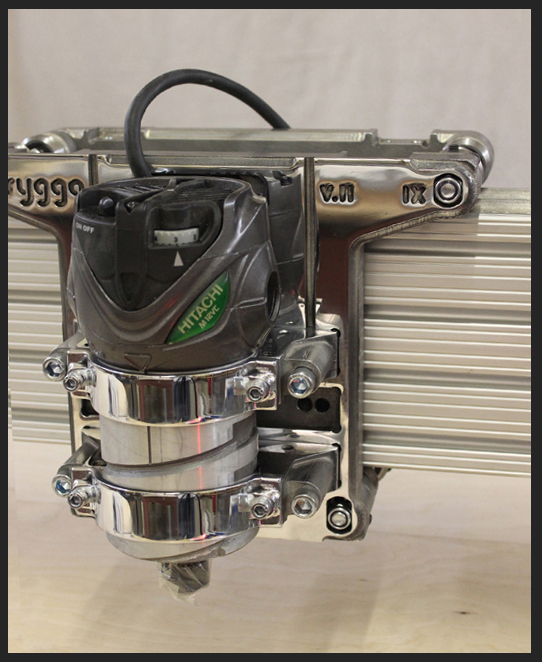
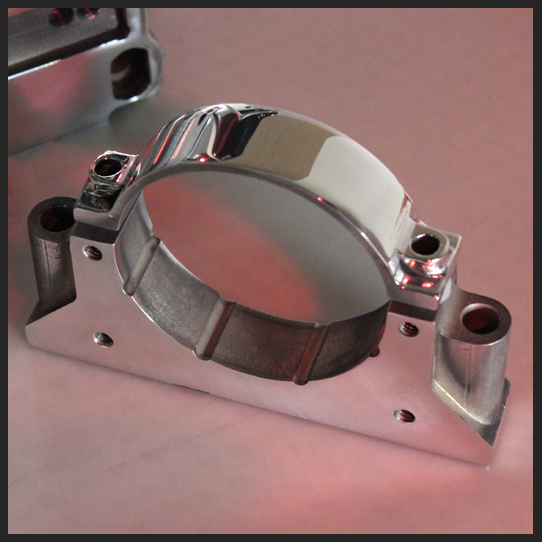
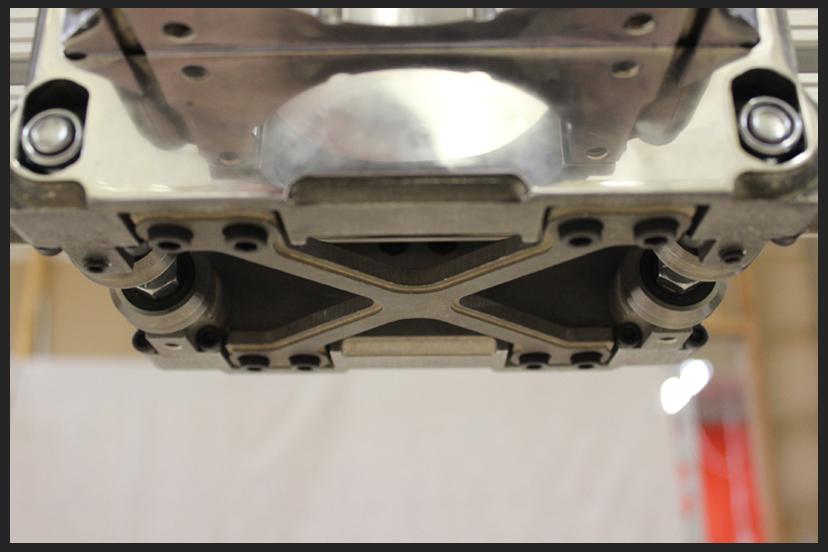
• Spindle mount with 3-1/2" effective clamp height.
• Integrated mounts for hall effect home switch and e-chain shelf.
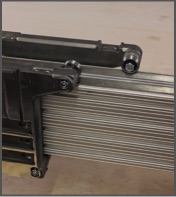
• Fully assembled front and back units, ready to be placed on the rails.
• Available in Nema 23 and Nema 34 stepper sizes.
• Polished aluminum faces as shown.
• Belt tensioning tool.
NOTE: Some images shown with optional brygga electronics set.
Placement of X carriage onto the rails:
Placement of X - axis carriage is similar to Y/A axis carriages:
Loosen the set screws on both bottom spacers of both carriage plates.
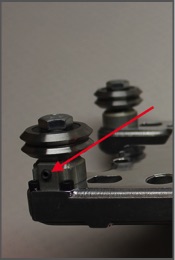
Do not loosen the set screw on top bearing!
Loosen the bottom bearing bolts on both carriage plates.
Loosen the bolts to slightly tilt them down.
Place the top bearings of both carriage plates on the rails.
Keeping the bolts tilted, align the bottom bearings with the bottom rail.
Using the set screws, raise bottom bearings up against the rail. Slowly tighten one of the bearing bolts while checking bearing pressure on the rail. Back off if it is too tight, loosen set screw an eigth of a turn and slowly re-tighten bolt again while checking bearing pressure. Repeat until you have a snug but not too-tight setting.
Repeat procedure for the other bearing bolt.
Repeat the same for the other carriage plate.
DO NOT lock the bearings on the rails! Damage to bearings or other parts could occur!
You should be barely able to turn the bottom bearings with your figers once everything is tightened down.
Once set, roll the carriages by hand on the rails and check for tight spots. If necessary, re-adjust bearing pressure for those tight spots.
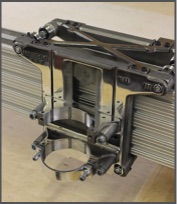
Align adjusted front and rear carriages.
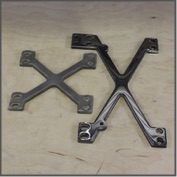
Install top and bottom braces to join both plates.
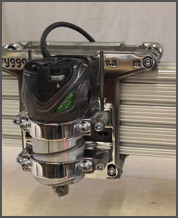
Your X - axis carriage is ready for your spindle.
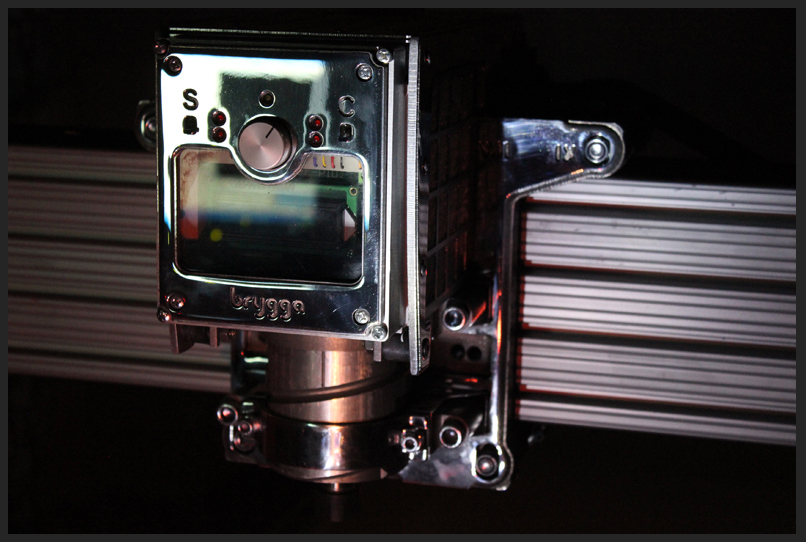
X - axis carriage with router spindle attached.
Designed and Manufactured in the USA
bryggaCNC - All rights reserved - Copyright 2016 - Centerail - Patent pending - Copyright 2016

> X - Axis