brygga, bryggaCNC and CenteRail are trademarks of bryggaCNC, a California company.
bryggaCNC reserves the right to make modifications or substitutions without notice. See Terms and Conditions
Machine Frame:
• Comes with everything you need for a simple assembly.
• Self-aligning and self-supporting design.
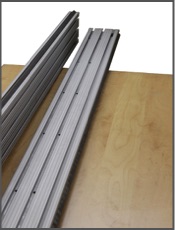
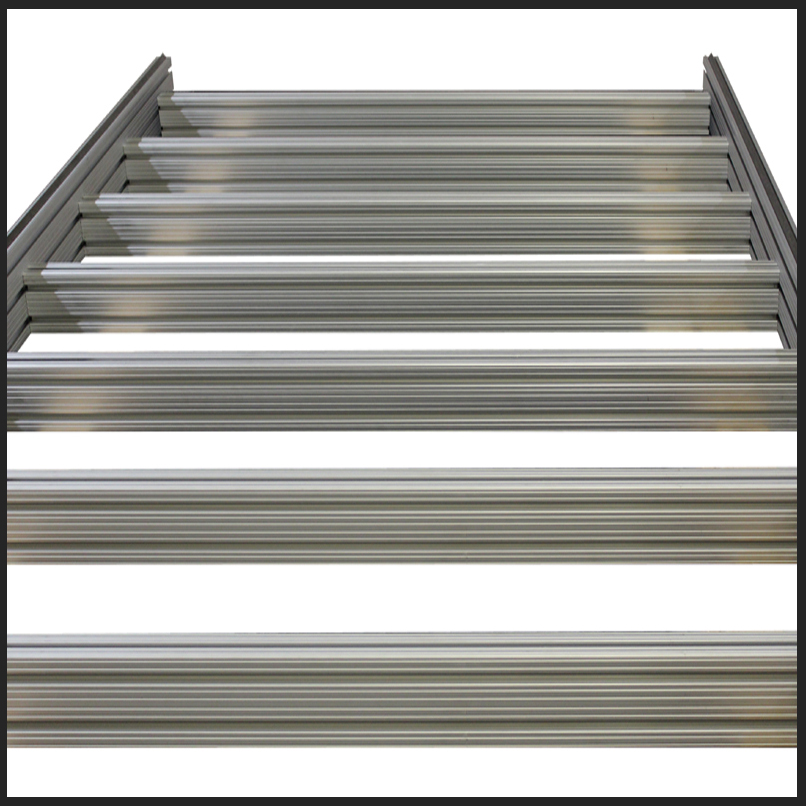
• CenteRail embedded linear motion system with cold-rolled steel rails in extrusions.
• Bolt-on glue pads for spoil board included.
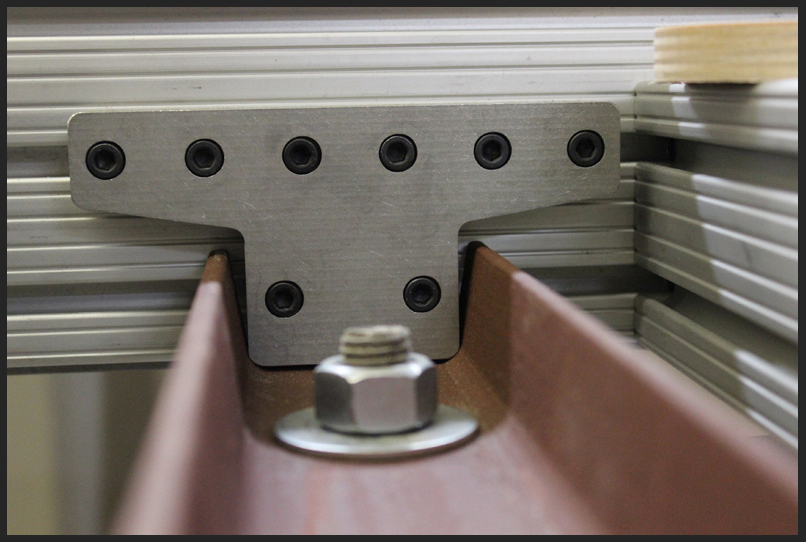
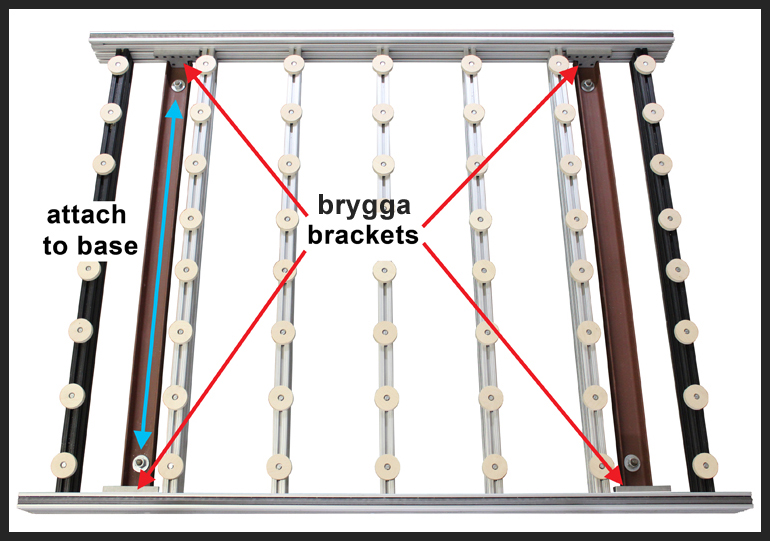
• Can easily be installed on a variety of bases.
• Available in 4' x 4', 4' x 6' and 4' x 8' configurations.
• See machine frame assembly instructions below for further information
Assembly of the Machine Frame:
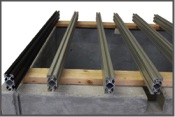
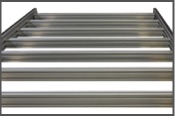
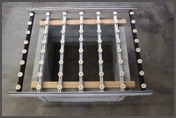
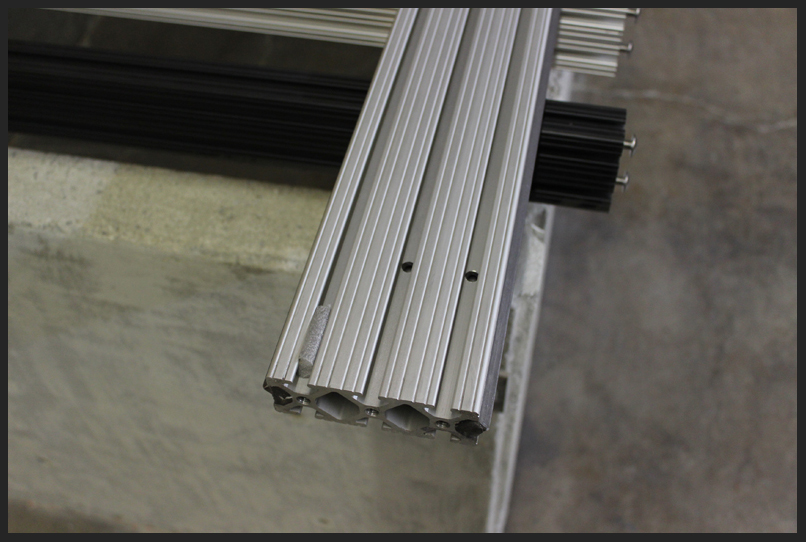
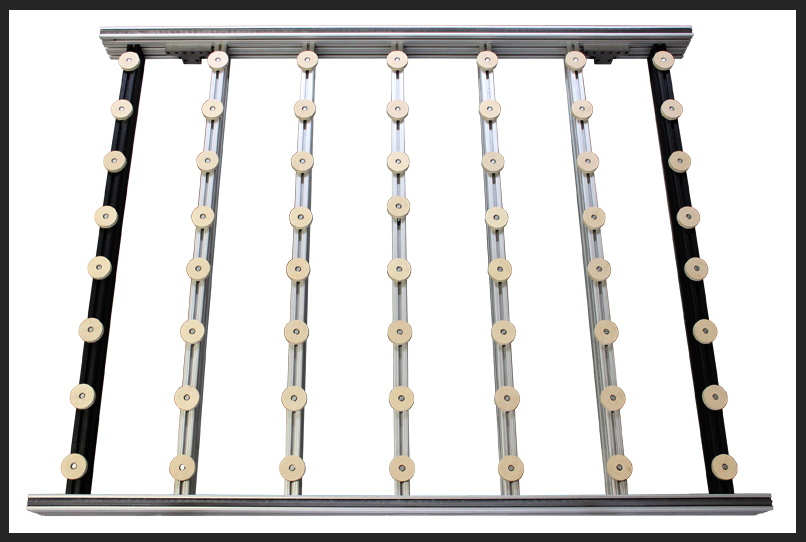
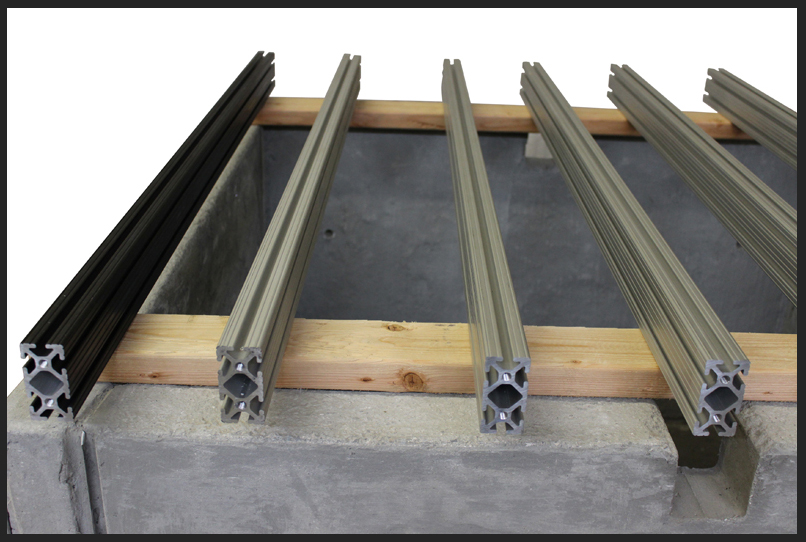
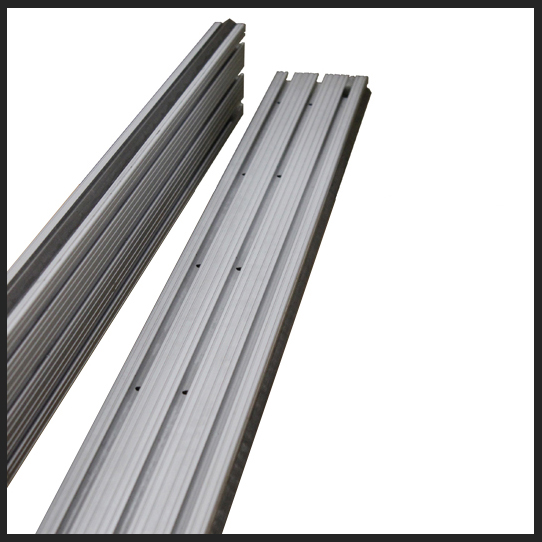
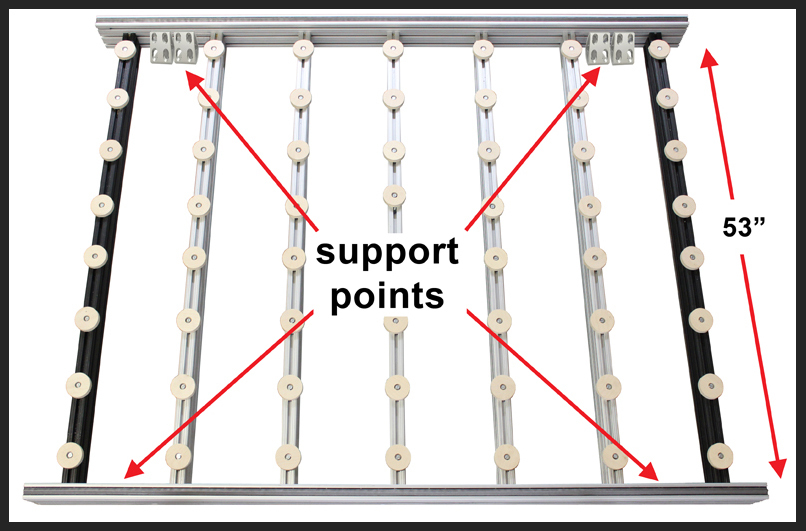
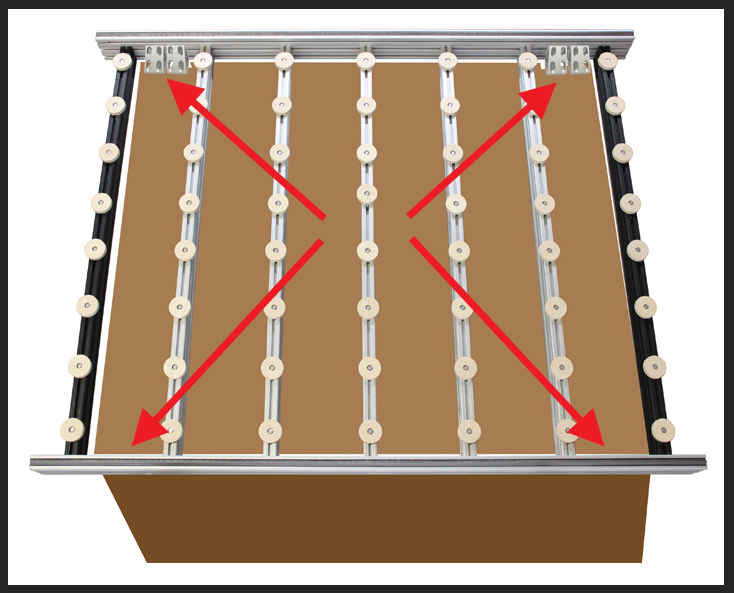
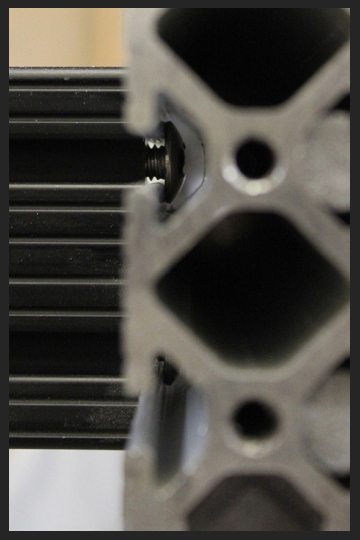
Machine frame set consists of two large extrusions, smaller cross members, bolts, T-nuts and glue pads.
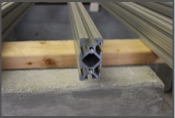
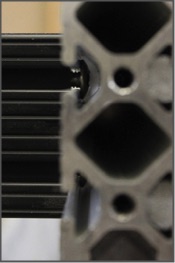
The two large extrusions have embedded steel rails on top and bottom each (CenteRail) and access holes inside the side channels.
The smaller cross members have two threaded holes at each end.
Lay out the smaller cross members on a non-marring surface.
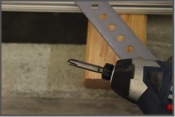
Install two truss head bolts at the ends of all cross members. Make sure the bolt heads stick out about 3/8".
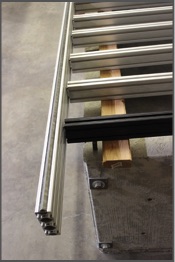
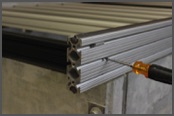
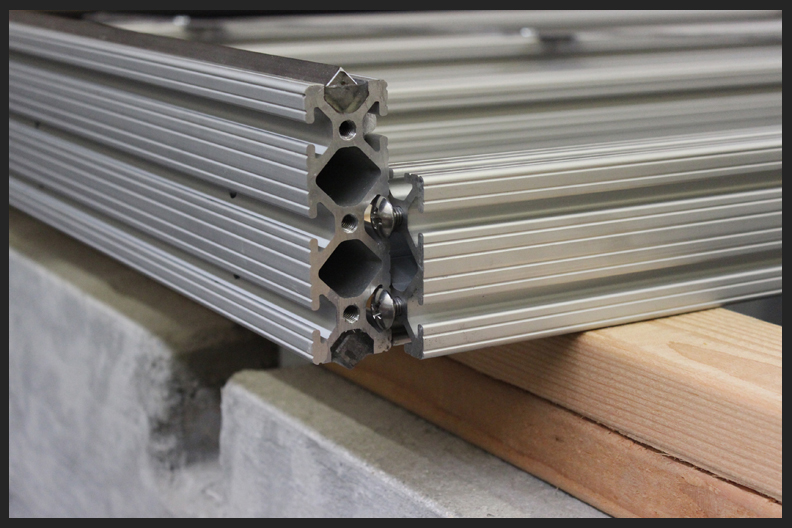
Position the large member so that the access holes are at the bottom.
Slide the bolt heads of the cross members into the bottom two channels of the large CenteRail members.
This is how the bolts fit into the channels.
Keep sliding the large extrusion until all cross members are engaged, on both sides.
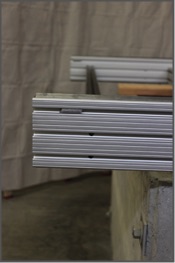
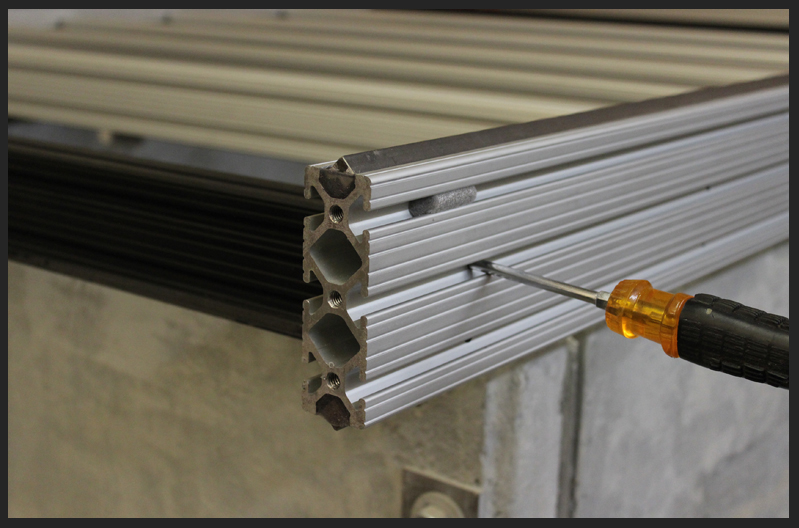
Once you have installed all cross members in between the two large CenteRails, start aligning one cross member at a time with the access holes on the CenteRail.
Start slightly tightening the truss head bolts with a 5/16" phillips head screw driver.
It is important to use the right size screw driver and to apply light force on all bolts while tightening so that all cross members can align themseves on the access holes.
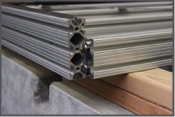
Once all members are aligned and slightly tightened, tighten all bolts with an impact driver using the included extra long driver bit.
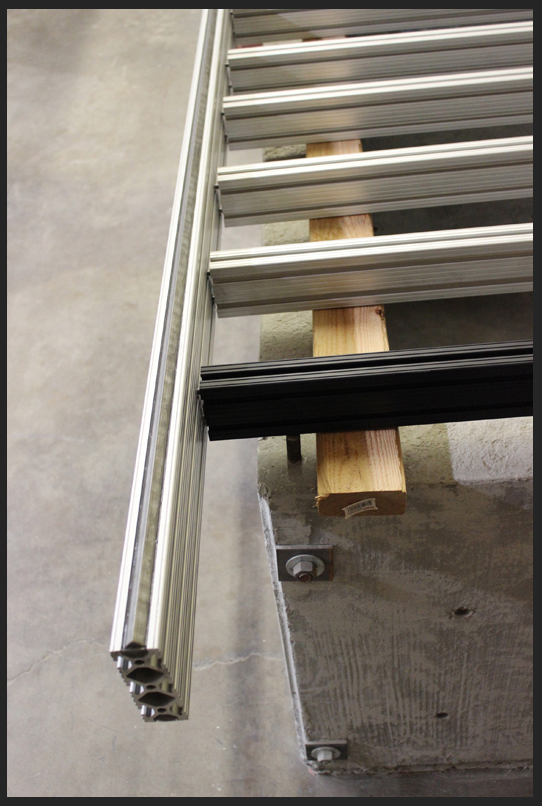
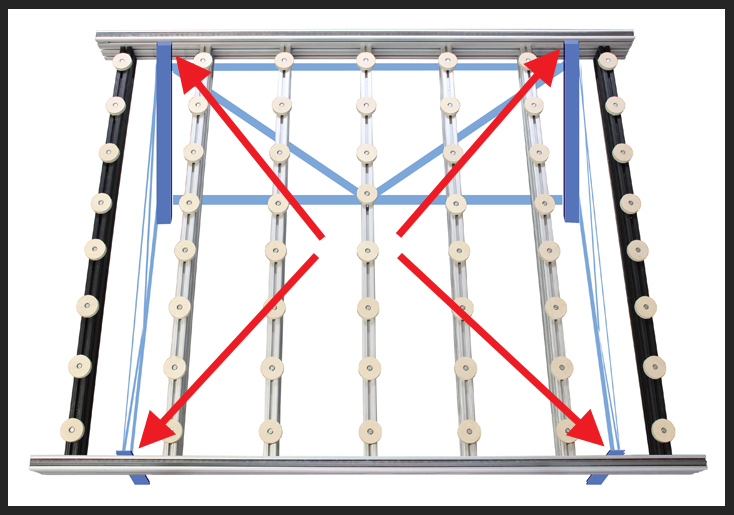
Your machine frame assembly complete with Y/A rails is finished.
The Y/A axis and top/bottom rails are now true and parallel to each other.
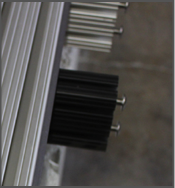
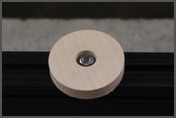
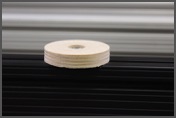
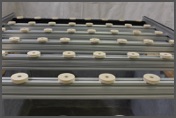
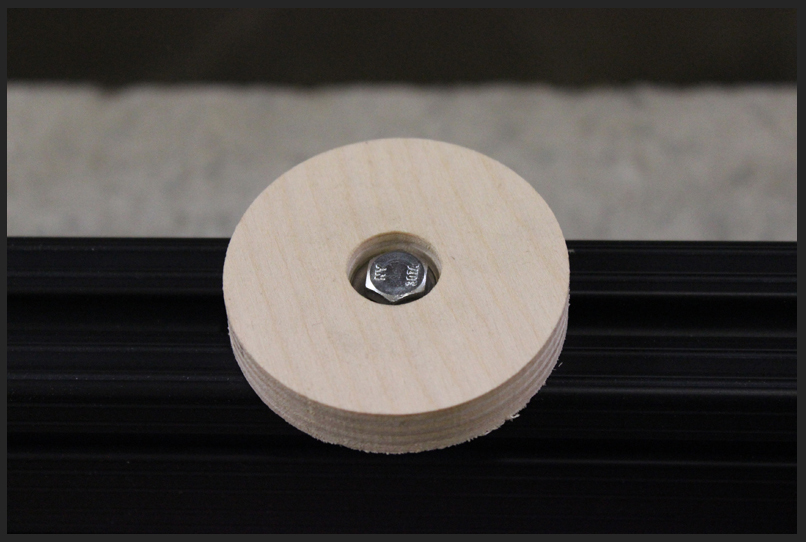
Glue pads:
You can use your own preferred method of installing your spoil board onto the machine frame or you can use the included glue pads with hardware for an easy installation.
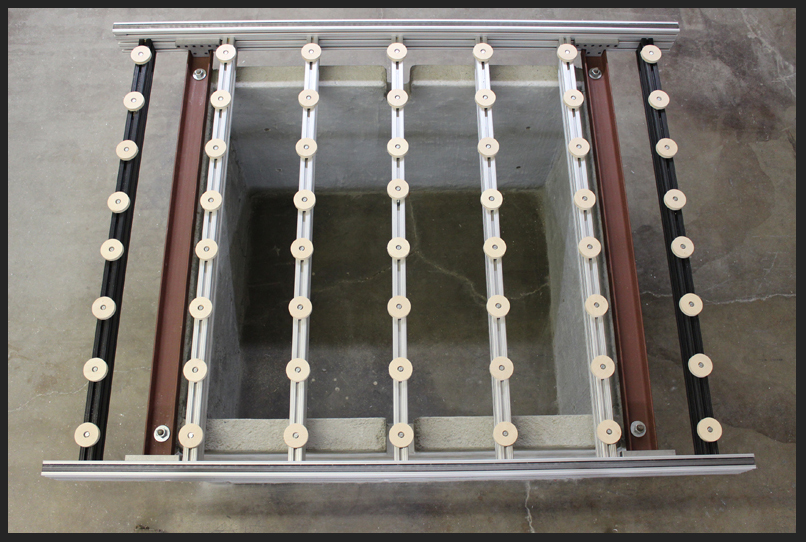
In any case, your spoil board should be installed after you mount your machine frame onto a base.
Install eight roll-in T-nuts into the top channel of each cross member and space them equally apart.
Install and tighten the 1/2" thick baltic birch plywood glue pads with the included hex bolts and washers.
Do not over-tighten the hex bolts!
Your machine frame is now ready to be installed onto a base.
For moderate speeds, ypu can use a variety of bases and the cutting capacity and precision of your brygga CNC router will be the same. However, a more rigid base will allow you to run higher speeds and acceleration rates without effecting the cutting quality.
See our base page for further information.
Designed and Manufactured in the USA
DrawbridgeCNC - All rights reserved - Copyright 2016 - Centerail - Patent pending - Copyright 2016

> Machine Frame